skip to main |
skip to sidebar
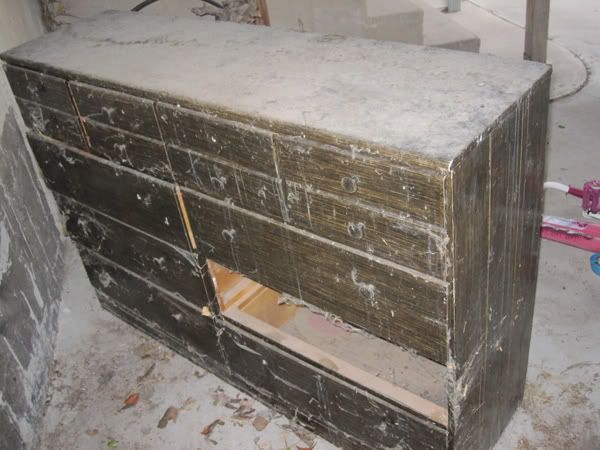
Does this picture not make you want to cry a little? In fear? Like it should be straight out of a horror movie? Ok, maybe a bit. I got this baby for $15 at the DI (Utah thrift store) when I was in college. It was great and completely cobweb free. Since my apartments were a little, well, ghetto, this dresser matched perfectly. I then moved to Washington DC so this little gem lived with my brother for awhile. When he moved it got stored under the deck at my parents. Where it was rained on. And snowed on. And inhabited by a small family of spiders. That grew into a large family of spiders. Poor dresser.
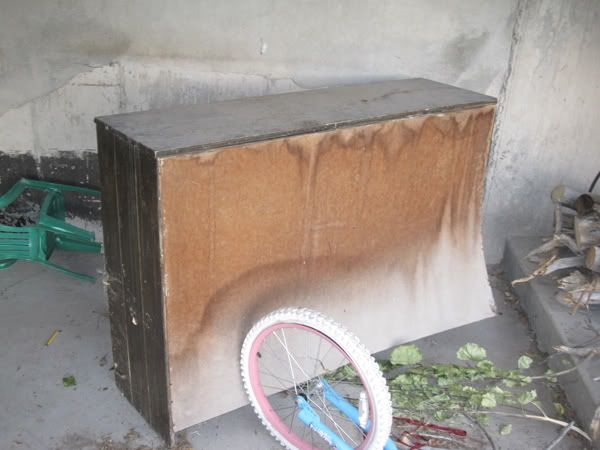
So fast forward a couple of years and I now live in a house with a great husband preparing a nursery for a little girl. I remembered the dresser and wondered if it had any potential as a changing table. I found it under the deck on a trip to my parents and saw that it was the PERFECT height for needed table and would give us a lot of great storage. So my dad pulled it into the shop, cleaned it up, rebuilt a drawer, tacked the back in, and built a top for it that was a bit wider than the original dresser. What a great dad. Then after some sanding and some white paint it made its way into the nursery.
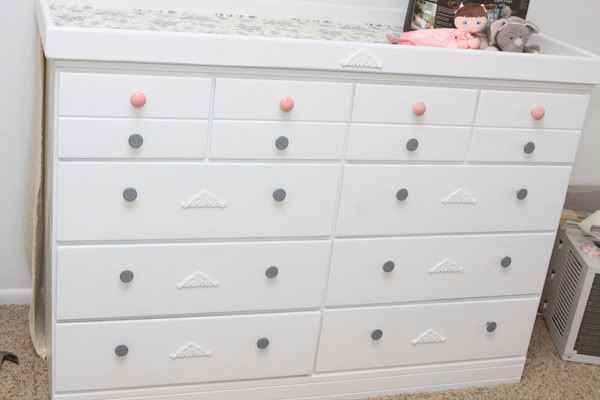
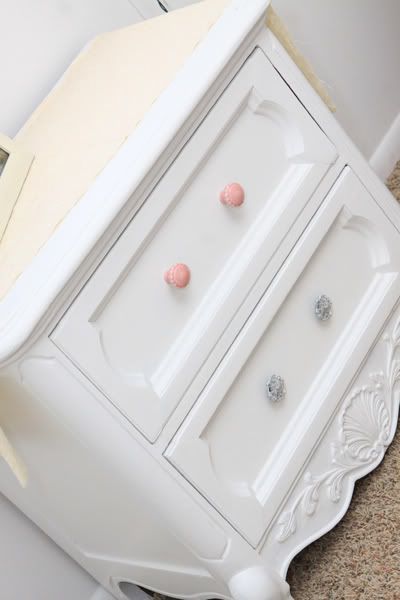
Over the years some of the original hardware had gone missing so I bought four new 'girly' pieces for the top drawer for 50% off at Hobby Lobby and spray painted all the old hardware...because I'm cheap like that. I found a great toile pattern of vinyl at the dollar store that I put on the top and in all the drawers of the changing table and added a creme floral print panel to the gap in the back where the original dresser was shorter than the new top. It adds a great little place for storage now.
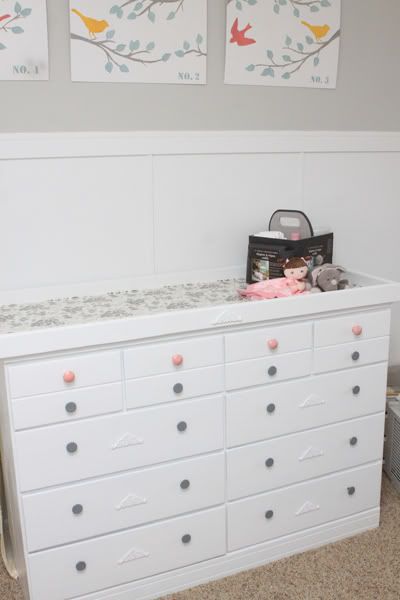
I also found some wood decorative pieces at Hobby Lobby to add a little feminine flare and help it match the following nightstand:
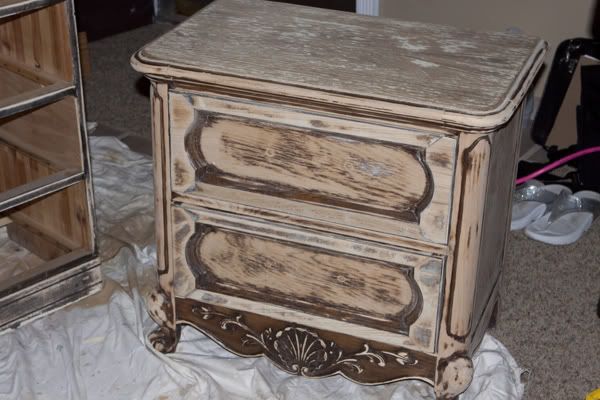
Isn't she beautiful? Hahahah. This is post sanding, so I didn't get a true before picture which I sincerely apologize for. I loved the scroll work at the bottom. Guess where I found it? On a curb. For free. Yea, that's right, free. I even knocked on the door of the house to make sure I wasn't stealing, but when no one answered I loaded it up by my pregoself and took it home. This was after passing it once, flipping a u turn and coming back. It also sat for a couple of months out in the rain. I'm really good with furniture like that.
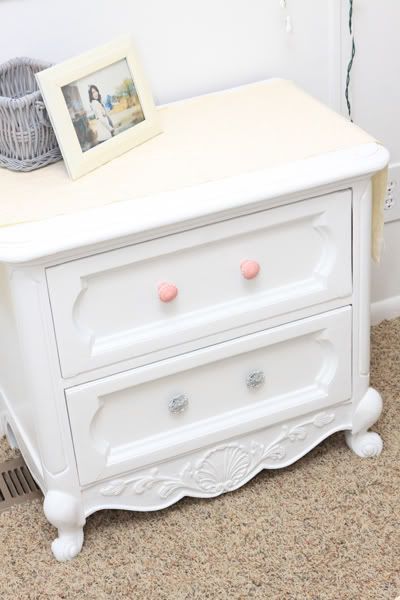
After some sanding and some new/spray painted hardware, it's so cute and feminine! I love the two nursery pieces that cost me about $10 in paint and hardware to redo. (White paint I had on hand). I was going to antique them, which would also be a great look, but since the crib is not antique, I just went with a simple white. We did buy the crib new which I thought was a step up for us. :)
Happy Monday! Hope you had a marvelous thanksgiving weekend! I love comments! And followers! Both would totally make my day. :)
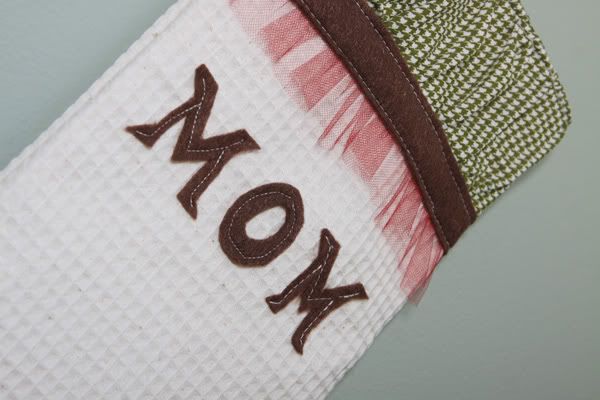
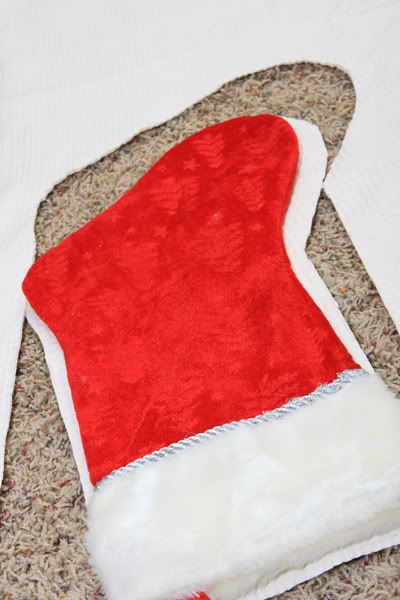
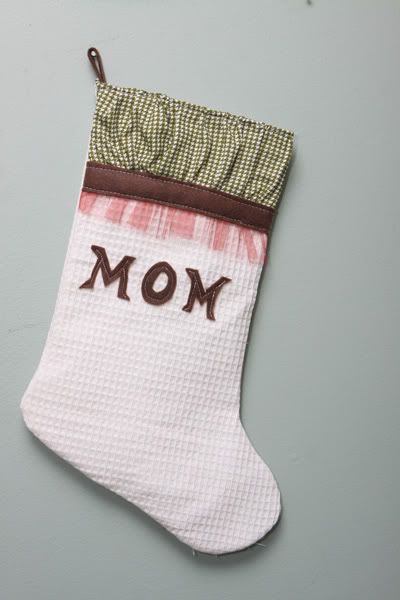
I finally got around to making these as I've had this idea for a while now, and since there is a torrential blizzard outside right now I have no more excuses. I found the great muslin for 25% off at Joann's. I found the hounds tooth for $1.50 a yard at Walmart so I bought a bunch since I have other plans for it too. The tulle and felt I had on hand. Even though this was SUCH a simple project, my ocd kicked in after the first stocking, so I have yet to complete the other two. Also, do you know how weird it is to make a stocking for yourself as 'mom' when you never have been one up to this point? Yea. Weird.
The first thing I did was find a stocking in storage that my hubby and I had bought at the dollar store last year, cuz that's how we roll. Nice and cheap. I cut the muslin around the stocking just a little larger in order to allow for a seam.
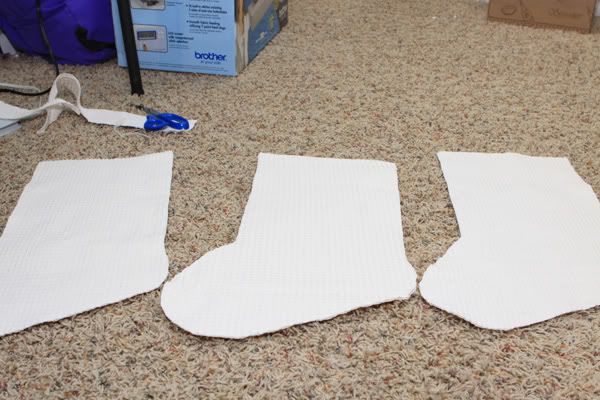
I then used the muslin cutout as the pattern for the next two. I only needed three stockings, so I probably used about 1/2 yard on them. I did buy more muslin, because our family might *possibly* be bigger in the future.
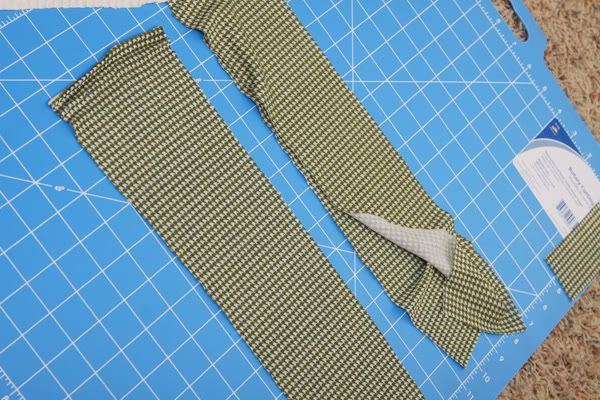
The muslin stockings were about 8 inches wide, so I cut the hounds tooth into a strip about 4" by 15" long.
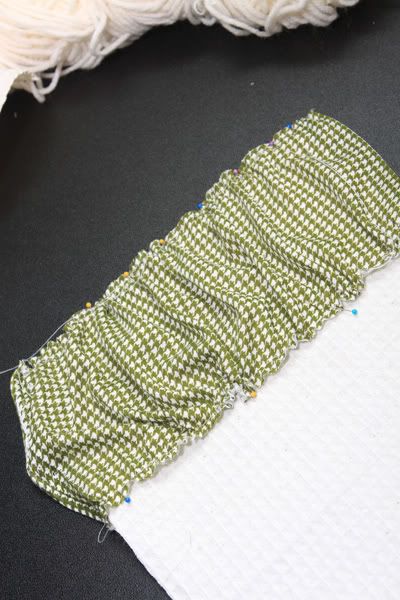
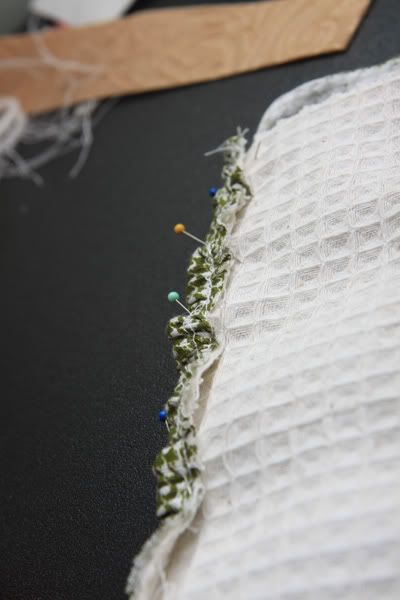
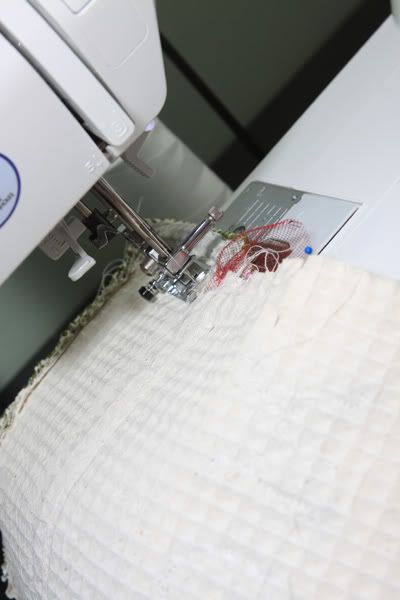
I put a basting stitch on both sides of the strip and gathered it loosely, then pinned it to the top of one side of the stocking.
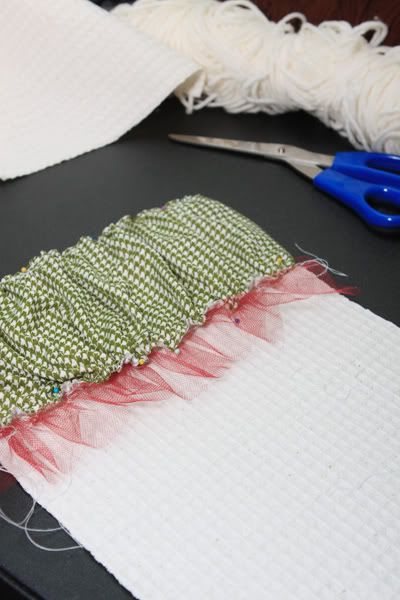
I cut a small strip of tulle- about 20 inches long. When you sew the tulle will typically gather itself if your strip is only about an inch wide which mine was. I put that under the hounds tooth and then re pinned, because I was pretty much just making this up as I went along. All I knew was that I wanted muslin stockings, so...yea.
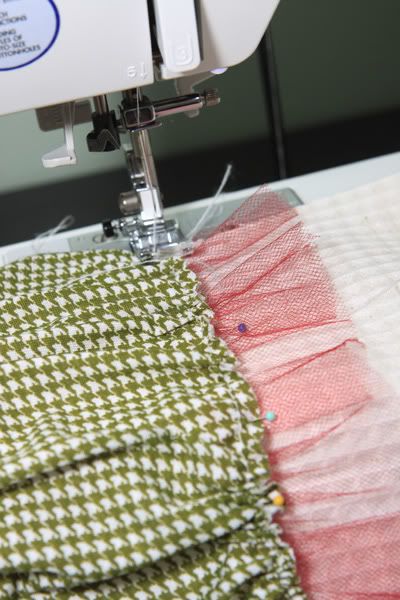
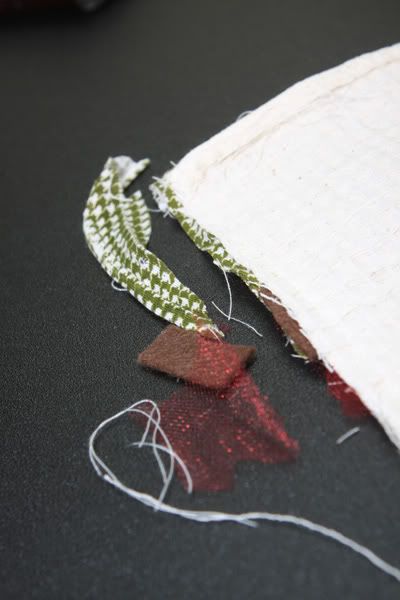
Sew your pieces down. Then pat yourself on the back. Then continue.
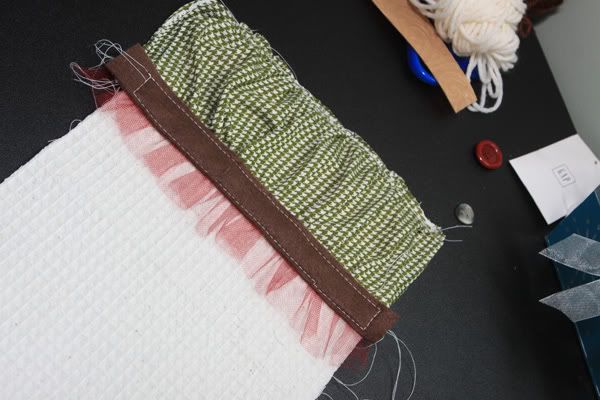
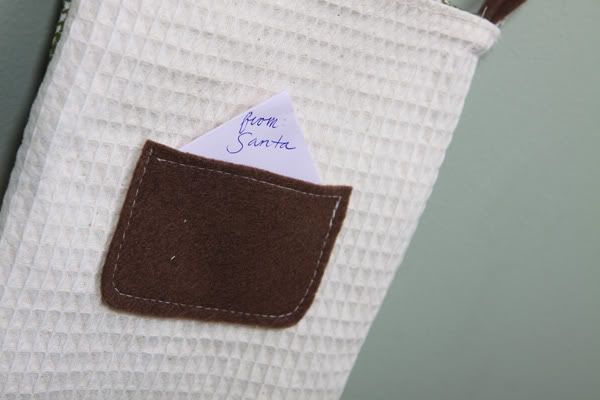
I cut a strip of felt about 9" long and 1" wide. I placed it over the seam and sewed lines into the felt so it would get that cute stitched look. At least that was the intention.
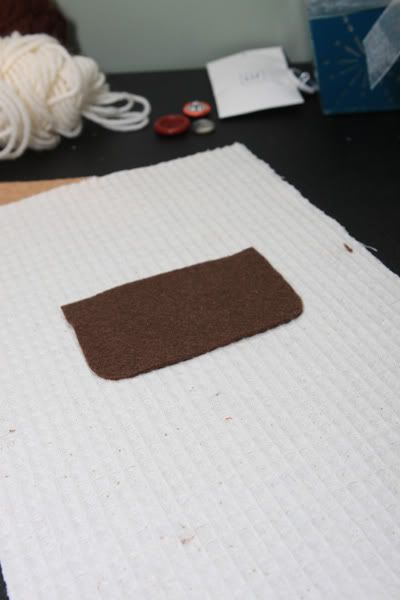
At first I was going to the back the exact same, but then I thought, "How cute would it be to do a pocket for notes from Santa on Christmas night?" See I don't need kids yet to still be a total five year old sometimes. It could also be a note from Mom and Dad if you've got some 'non-believers' in your home. ;)
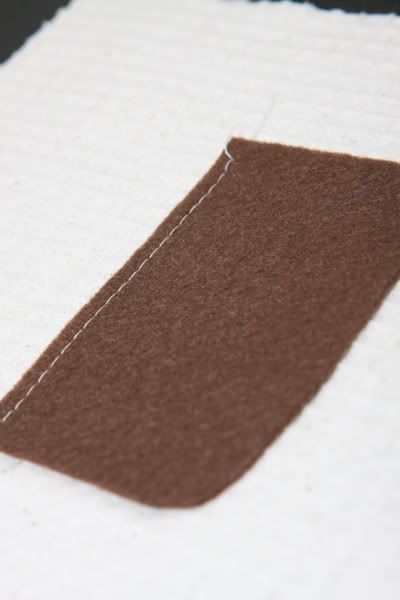
I sewed a line across the top of the piece of felt I cut out then pinned the felt to the muslin.

I then stitched the other three sides with the machine.
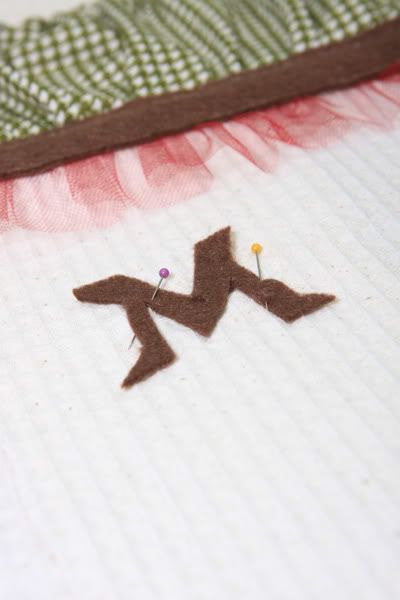
I wanted to personalize the stockings so I attempted to make stencils from a font I liked on word. After I realized how dang long that would take that it would be better to just free hand cut them, I did so. I then pinned down the letters where they looked best on the stocking.
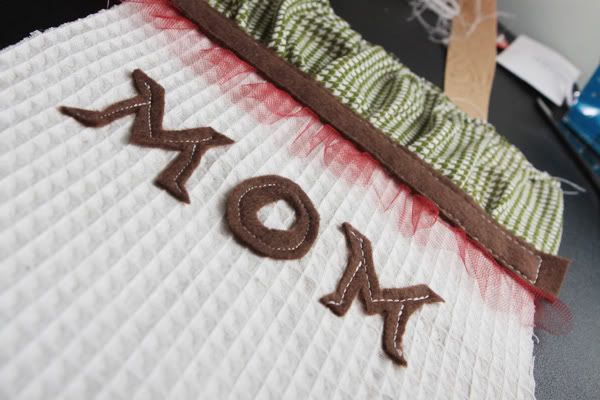
I stitched over each letter carefully and called it good.
Then at the top of each stocking side I folded it over and did a quick seam to finish them.
Then I put wrong sides together and sewed the two sides.
Trim any excess so that the sides are smooth when it's flipped.
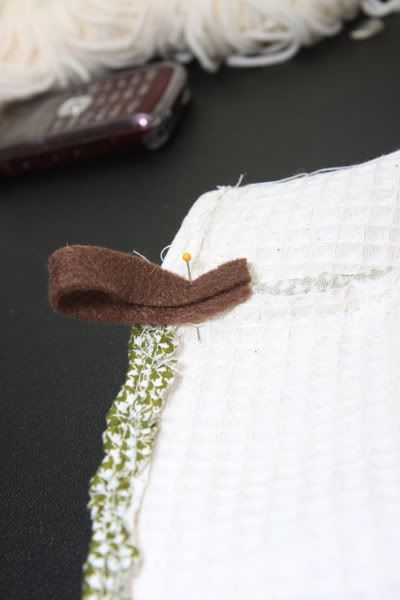
I made a quick strip out of felt, looped it and then pinned it over the side seam.
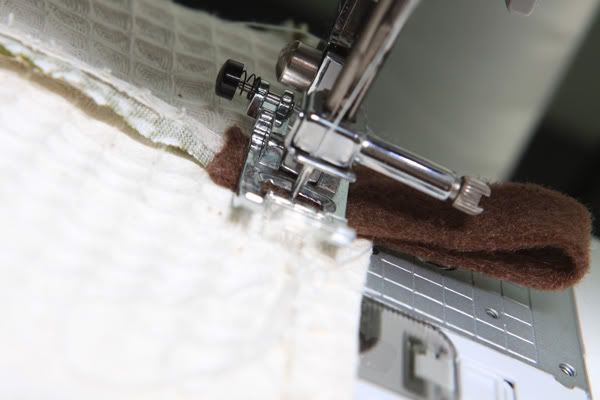
Then I just sewed it down over the seam.
Flip it out and voila! You're done! I would have finished the other two, but I didn't. Apparently facebook was way more appealing than sewing. Don't worry, they'll be done shortly. Probably.
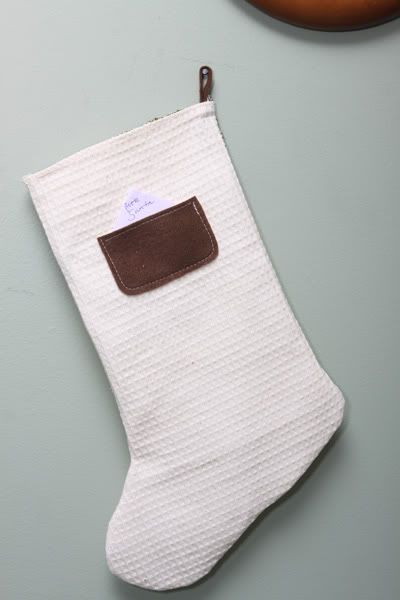
Note from Santa!
My parents used to leave us a 'note' by the cookie plate, I mean, SANTA used to leave us a note and we loved it as kids. How fun to have your own!
Happy sewing! Let me know if you have any questions, and if you like it! Have a wonderful Thanksgiving!
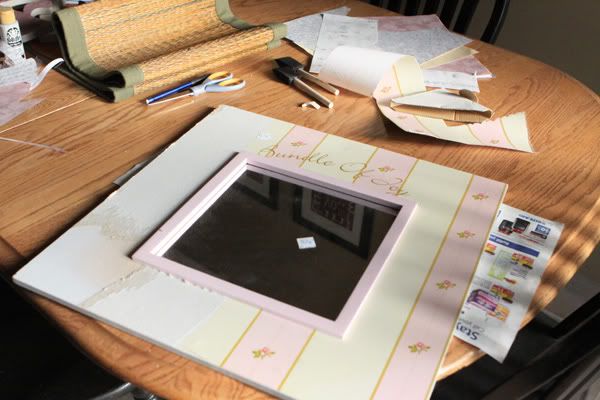
On a past thrifting outing at the DI (Utah Thrift Store) I found this wonderful little frame. I seriously sat for five minutes because even though I knew what I would do with it and saw it's potential, it was still $4.00. And I am CHEAP. So about five minutes later, I sighed, put it back and walked away. Then about five minutes after that I picked it back up and went to the check out before I could change my mind. A little pathetic? Maybe. But c'mon, it was $4.00, not my typical $.35.

Although the digital roses were, well, what they were, I knew the old paper HAD to go. So I ripped it and scraped it off. Well tried anyway, some was pretty cemented down, so I just gave up. I cut four coordinating colors of scrapbook paper and measured where I wanted them to go on the frame. I cut them to size then modgepodged over the old paper and frame to the size of each paper at a time. Once they were all down I modgepodged over the top and added a thin ribbon between each paper line.
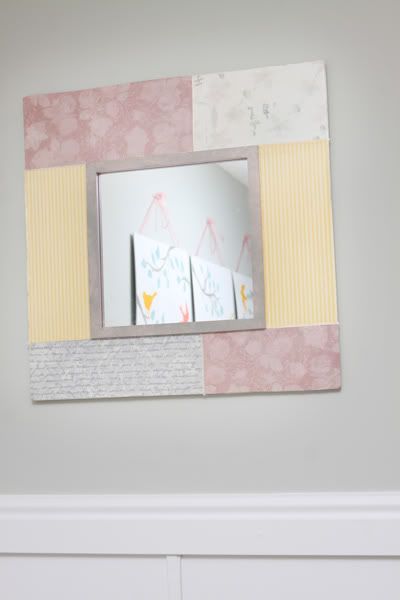
So now I have a cute little 'patchwork' frame for the nursery! Super easy and *mostly* cheap. ;) What do you think? Happy Monday!
Right now at Dollar Tree they have table runners that are 72" long for $1.00. (Of course they are a dollar, it's dollar tree). I found them in the thanksgiving shelf they made in order to make room for the mounds of Christmas items. I picked up a couple because I figured they could be the base of something cooler. I needed a runner for my coffee table which is only about three-four feet wide so the runner was too long. I cut a section out near the end of the runner (it was all folded up to sell so I just followed two fold seams for the cuts). Then I sewed the two pieces back together with 1/4 inch seam and pressed it down. I then took the section I cut out and cut the two surged sides of it, and zig zag stitched the other sides, so I had two pieces about 3 inches wide. I then placed them over the seam I had just made, and folded them how I liked, pinned and sewed. I put the other one on a fold line on the other side just so they matched. So here is a revamped dollar store table runner, which I still can't believe I only spent a dollar on. Huzzah.
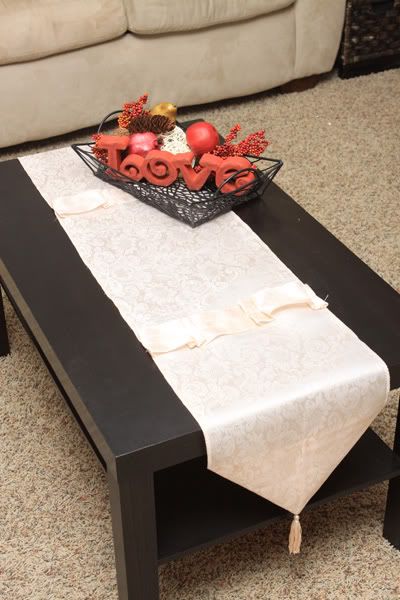
Sorry no tutorial on this one, please comment if you have any questions or thoughts, but I promise, it's simple! And if it's not...there's probably no way on earth I could have done it. ;) Have a great weekend, see you Monday!
Sometimes I get really awesome ideas. Around 1:00 in the morning. Usually it would be a pain getting ideas that early, but I get so excited I forget that logically most ideas that come at 1:00 just really aren't that good. I even made a tutorial on this idea. Then I got to the end. And chuckled. Then laughed a little because of the outright badness. And then I put it on the couch because I'm too lazy to make something else. And really, the ugly duckling now holds a place in my heart. And it's not too bad... just for sure makes it to the failometer. So here is the rosette pillow I so awesomely thought of at one in the morning. Who wouldn't think that toile, tulle, and burlap would make an awesome combo? I mean seriously.
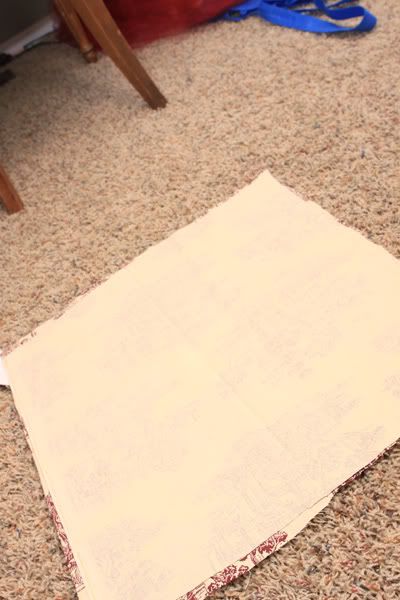
I had some old pillows laying around. So I cut two squares out of toile about 1/2 inch bigger than my pillow form. I then sewed them together in preparation for putting in the pillow until I realized I needed to put the rosette on one side before I could do that. Commence un picking. And no, this isn't my first rodeo, I just have a seriously pregnant brain.
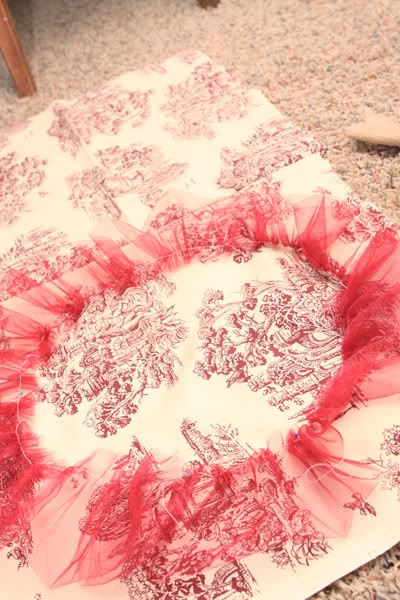
I started with a layer of tulle. It was leftover from the center pieces at my wedding, so it's a little sentimental, hence, I couldn't throw away 12 yards of red tulle. Sad, I know. To make the ruffle I cut a strip about 5" wide, folded it in half and then sewed the two edges with a basting stitch. Commence gathering. I like the word commence.
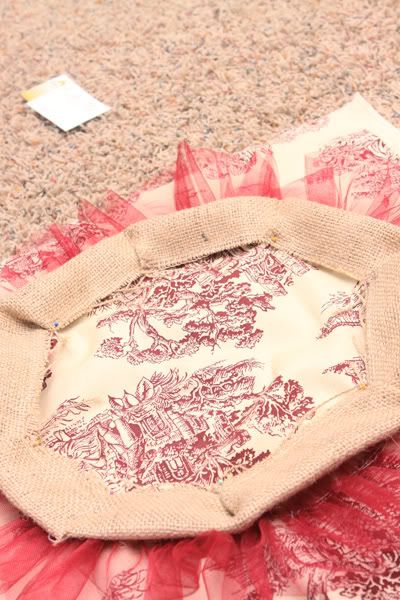
I also did that with the burlap, but no ruffling because the material was so thick. Instead I folded it into a octagonal shape (is that a word?) and pinned and sewed the edge. At this point I kind of liked it; it actually looked pretty cool.

This is where the epic fail sets in. I had a big hole I needed to fill in the middle that I thought the tulle would be great for. Wrong. You can see through tulle. Duh. I should have used the toile. It would have looked a lot better. But by the time I came to that conclusion I was way too 'I don't care' to turn back. So I sewed another ruffle in the middle. It didn't make it all the way, and I really didn't want to have to sew another layer of tulle. So I found some gray suede. I thought I love gray! I'm sure it will look good. Oh boy.
And here it is in its glory.
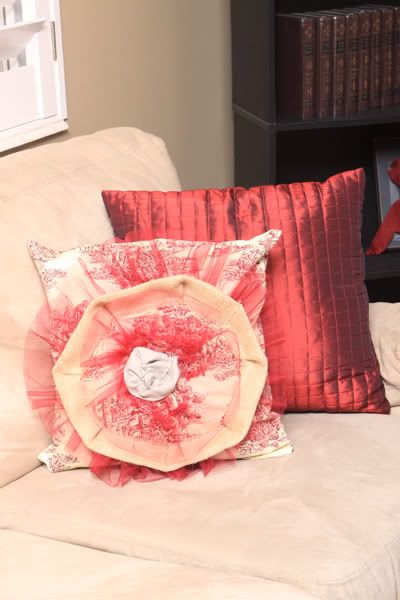
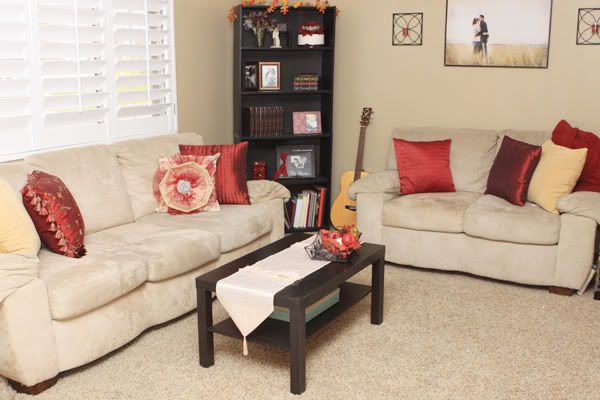
In the grand scheme of things its not too bad, but next time I'm whipping out more toile. You will also notice my living room has undergone another transformation, from this post which I think is here to stay, except for the addition of some creme pieces with the dark ones. I just sometimes have the habit of seeing a fabric I love and then thinking it should be all over my house when my style can be WAY too traditional for that. Yikes. I'd love to see if you make a rosette pillow using burlap! Message me your link! Happy Wednesday!
I have seen a few tutorials for Onesie Dresses online, but I felt they were lacking in the cuteness factor because they were so plain. And because ruffles are all the rage this season, because I'm expecting a little girl in a few months, because a few friends are expecting girls right around the same time, I decided there were more than enough excuses to cutify a regular ol' onesie.
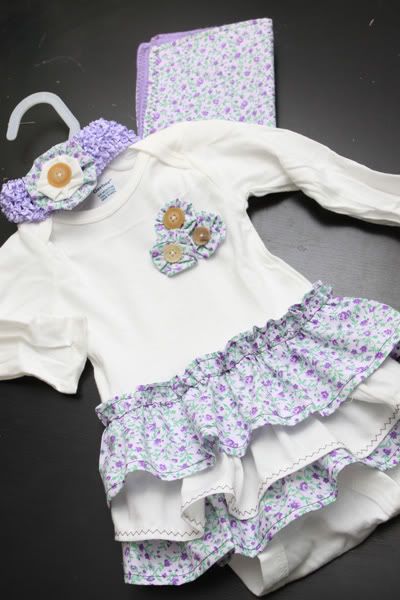
So this is what I'll be showing you how to make!
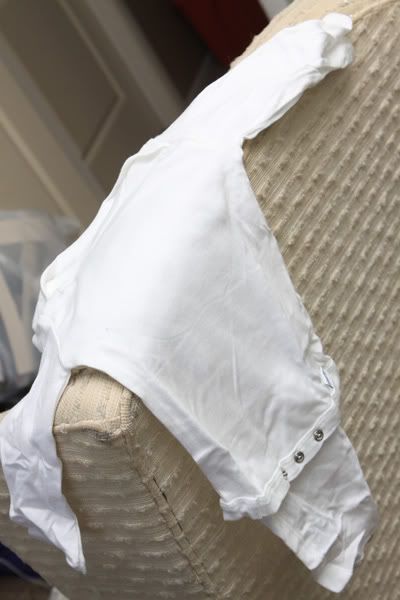
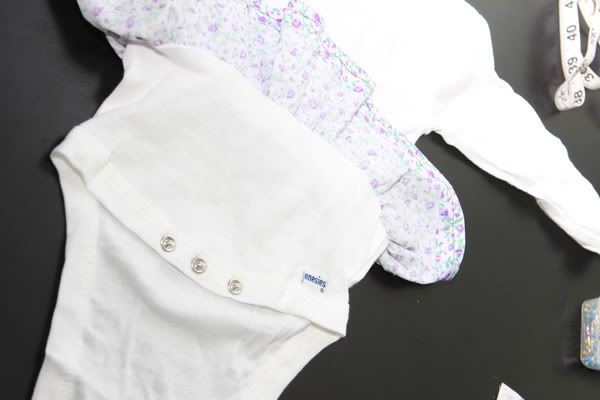
Start with a onesie of your choice. I really love the long sleeve ones, and they can be found at Walmart.
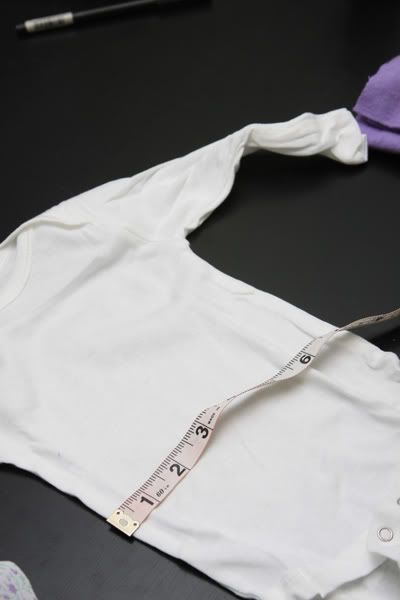
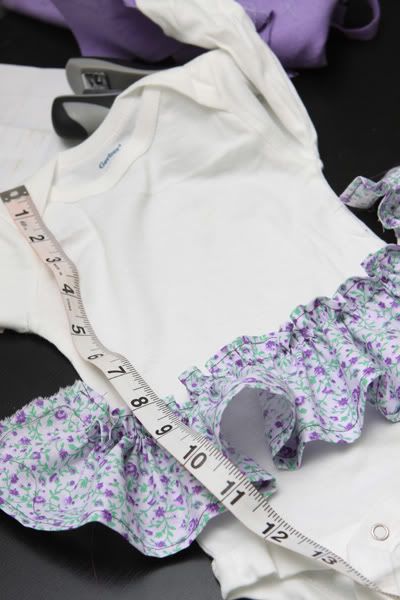
I measured the width of the onesie and tripled the width for the length of the strips I'd need for the ruffles. The amount you need will vary depending on the onesie size.
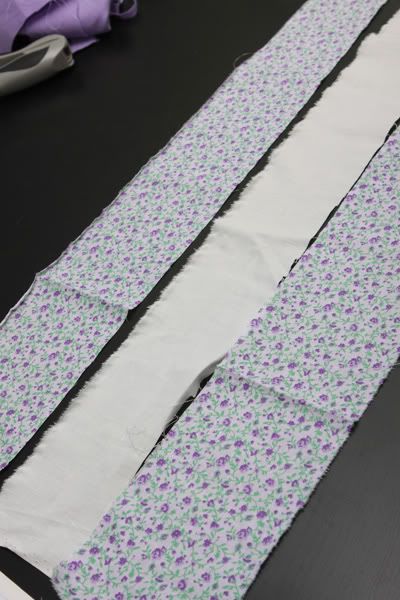
I cut three coordinating strips about 4" wide and 24" long. (I added three inches to the width since my onesie was 7" and tripled would be 21")
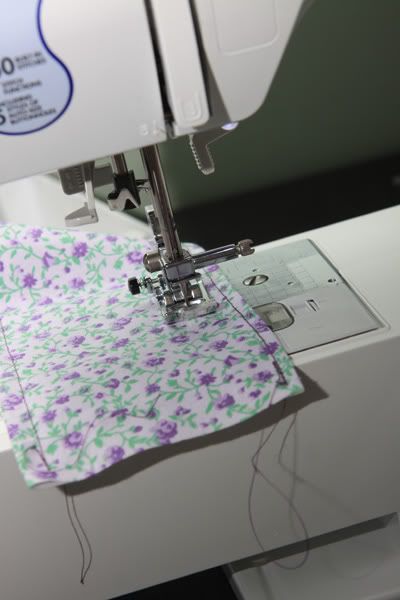
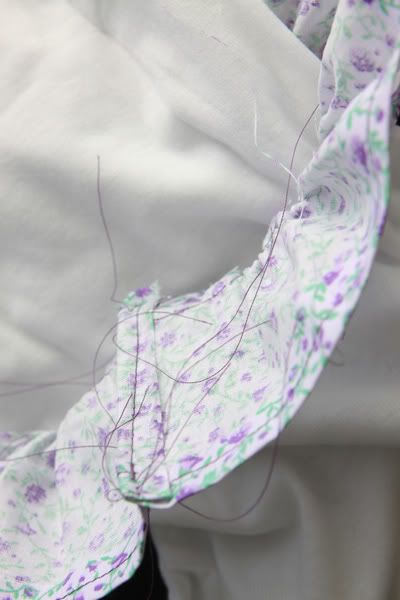
I finished the top ruffle on both sides with a 1/4" hem about. I say about because there is a very high chance it went smaller because I wasn't paying as much attention as I maybe. should. have.
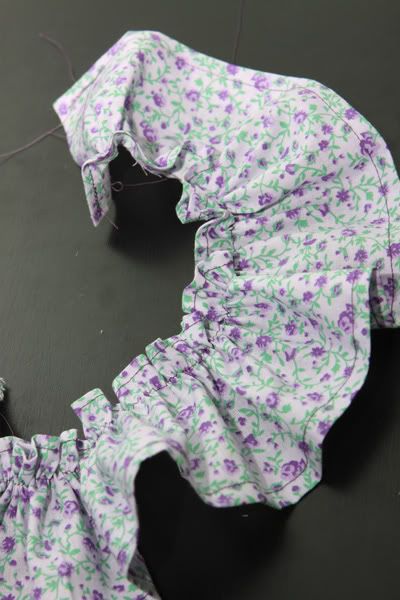
I came down about a half inch from the top finished seam, sewed a basting stitch and gathered the ruffle.I wanted a little ruffle top for the first layer.
I then measured down where I wanted the first layer to be on the onesie.
I started to pin, but realized I needed to seam the two ends together on the ruffle. So I slapped my forehead, unpinned, and then double folded and sewed the ends.
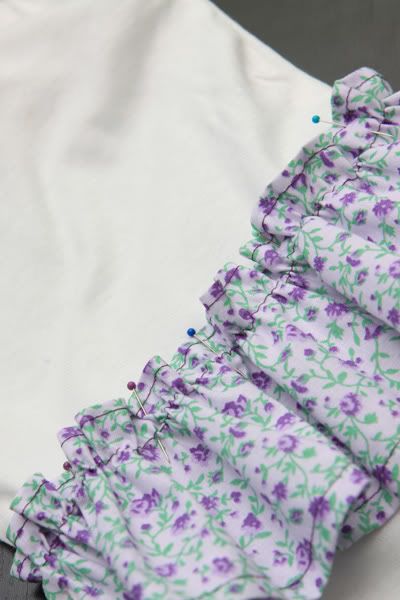
I matched the seam of the ruffle to the middle of the onesie back, but you can match it to the side seam of the ruffle to hide a little more. Pin the onesie down where you want it.
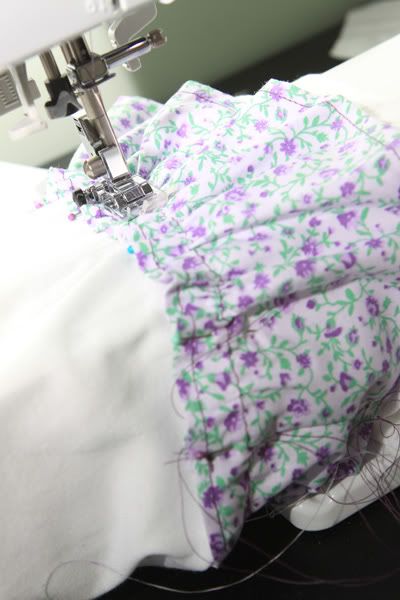
Sew over the basting stitch onto the onesie. Be careful not to sew the two sides of the onesie together, because it's really easy to do. Trust me. I won't put any un picking pictures to prove it.
Push the layer up to have room to work with your next two layers. You can press it at this point, but given my good luck with hot metal objects, I'll just skip that part.
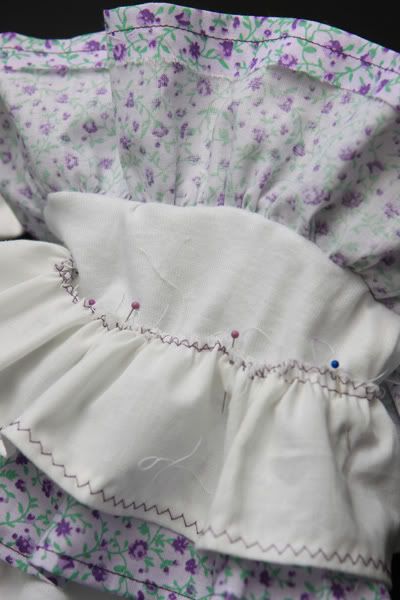
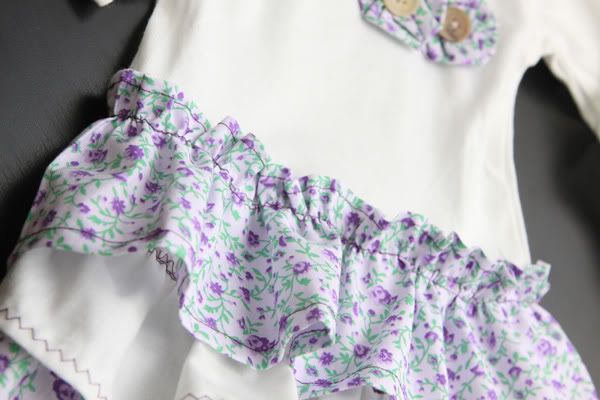
Place other layers where you want them, pin and then sew. The other two layers I finished the bottom seam, but zigzagged the top. The white layer I also used a zigzag stitch to give it a little more visual interest between the two purple layers.
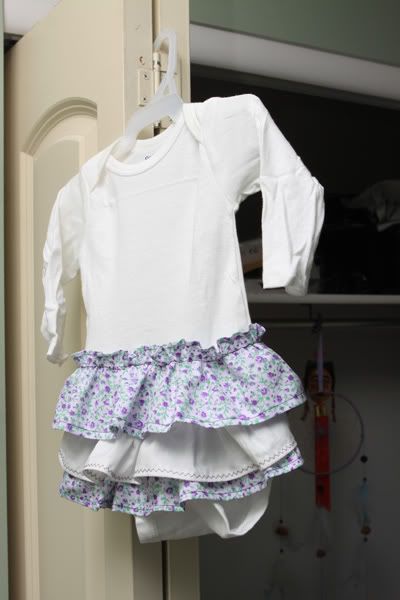
And here it is. We'll continue to embellish, because that's fun.
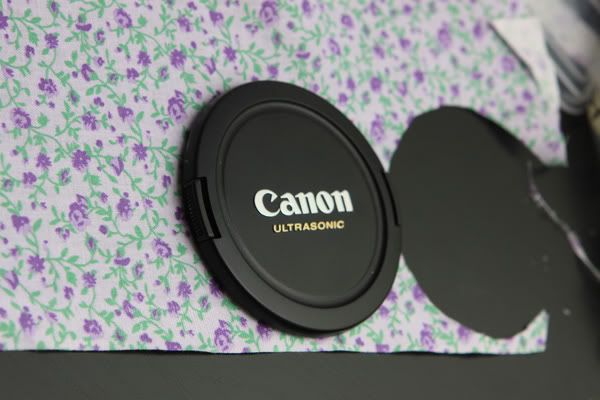
To make the flowers, use a circle shape. You can go as big or little as you want. Just know that once gathered in they aren't even half the size of their original shape. So if you want big flowers, use a big circle. Yes that is my camera lens cap. I am SUCH a multi tasker...

Hand thread a needle and starting with the inside of the circle out, do a loose gathering stitch.
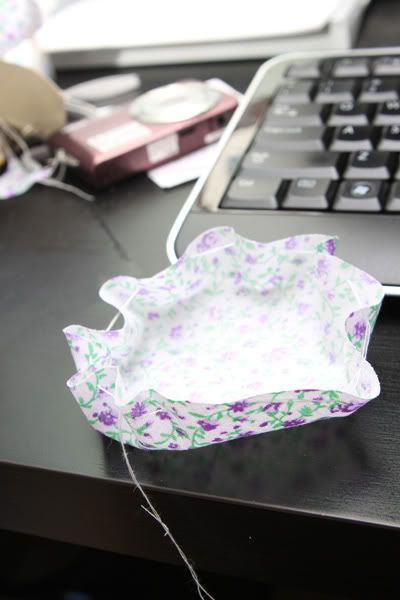
So if you pull it, it will become a bowl shape.
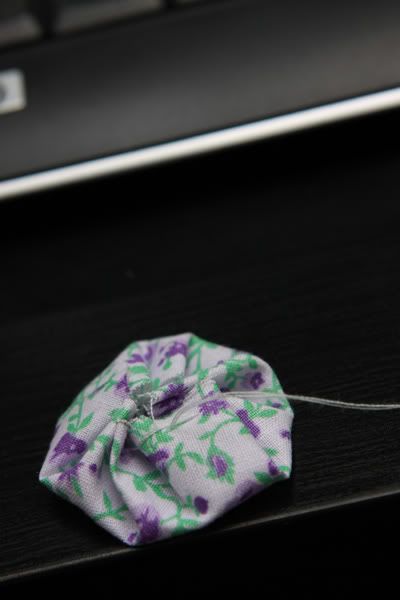
Pull to the middle, pressing down in the center till your flower begins to form. You can coax the sides to take shape as well by holding down while you pull.
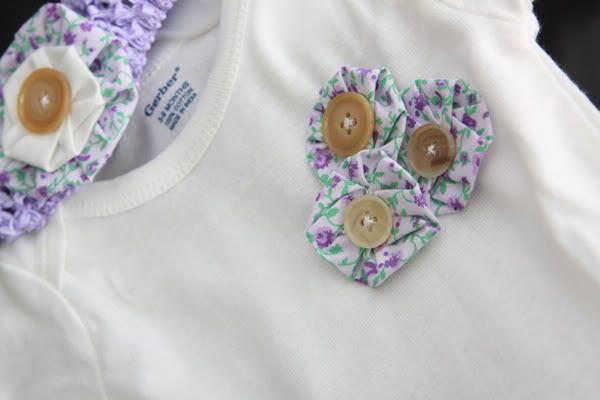
I made three of the same size for the onesie, and hand sewed them on, finishing with a fun button.
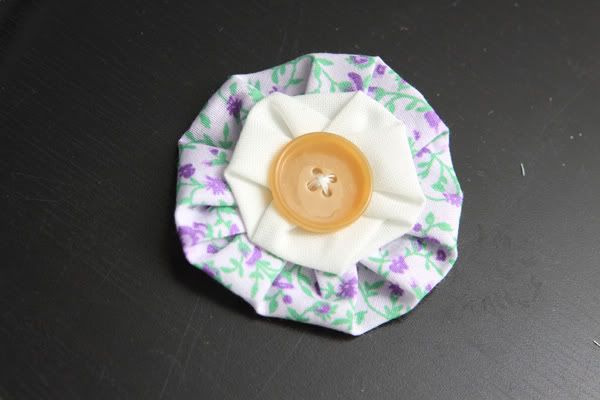
I also wanted to make a hair clip so I used a circle the size of a cd.I also cut a white circle from my lens cap. Follow the same steps, but just sew the two together with the button.
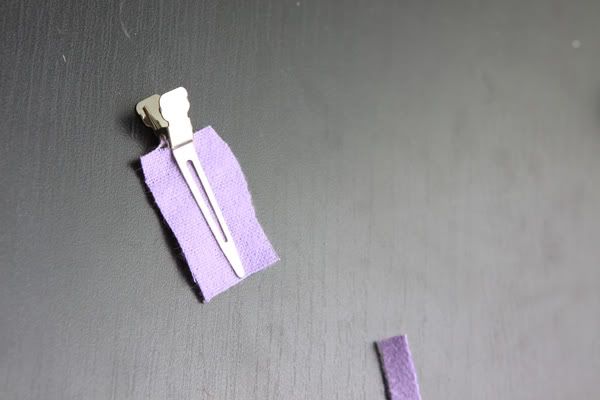
To attach the hair clip, I cut and then clipped a square of felt.
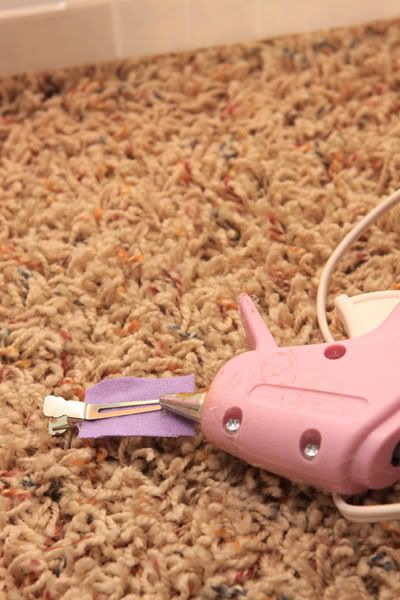
I then glued the whole side of the clip.
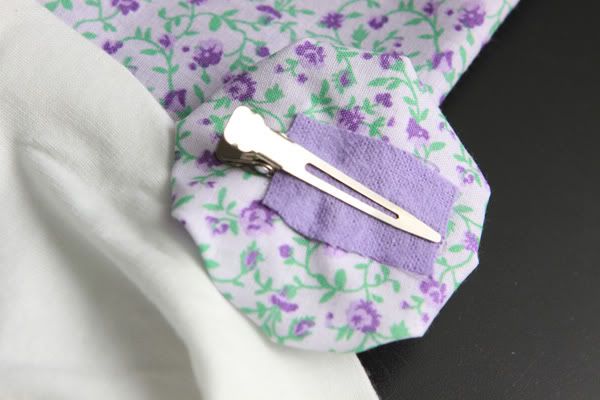
And placed it directly on the back of the flower.
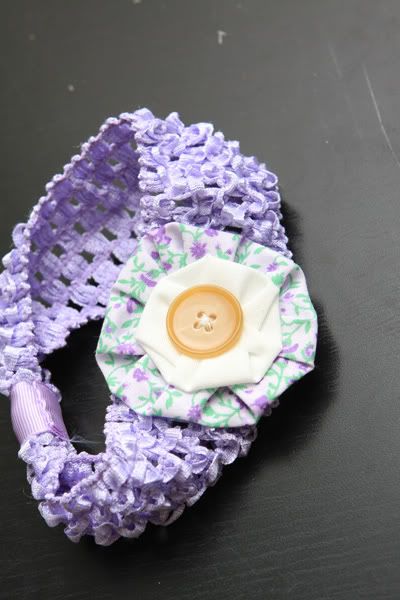
That way it can be a hair clip or detachable from a headband.
And you're done! I also made matching burp cloths for it like I did in this post. I gave it to a friend who is expecting next month, but don't you worry, I'm sure my closet will be lined with these for my own daughter. The best part? The onesie was about $1 out of the package, the material on clearance for $2 a yard, so the whole project only cost about two dollars since I had lots of fabric left over. Huzzah. What do you think? Something you can make? And would this not be so cute done in fall or christmas colors? That may be my next project... Happy Monday!