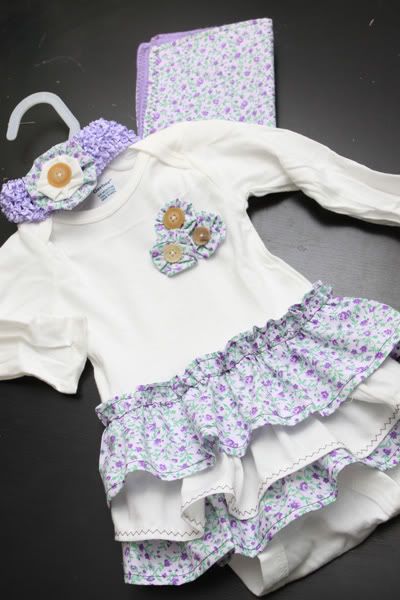
So this is what I'll be showing you how to make!

Start with a onesie of your choice. I really love the long sleeve ones, and they can be found at Walmart.
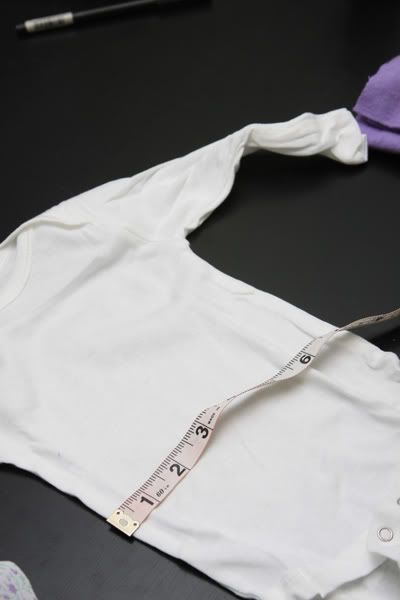
I measured the width of the onesie and tripled the width for the length of the strips I'd need for the ruffles. The amount you need will vary depending on the onesie size.
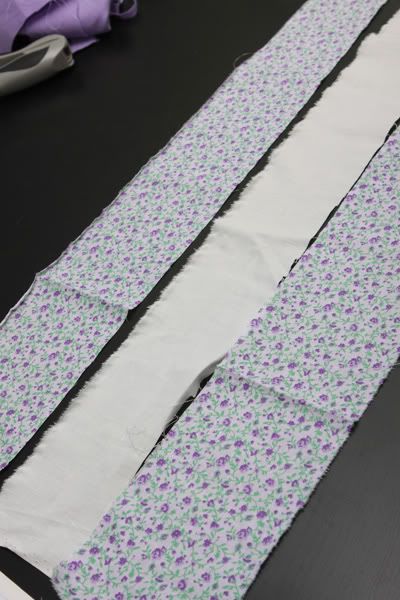
I cut three coordinating strips about 4" wide and 24" long. (I added three inches to the width since my onesie was 7" and tripled would be 21")
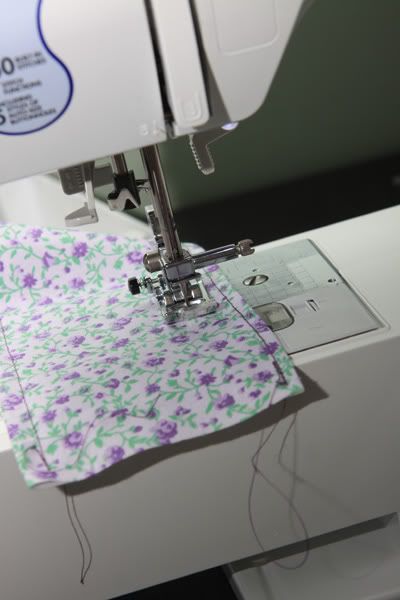
I finished the top ruffle on both sides with a 1/4" hem about. I say about because there is a very high chance it went smaller because I wasn't paying as much attention as I maybe. should. have.
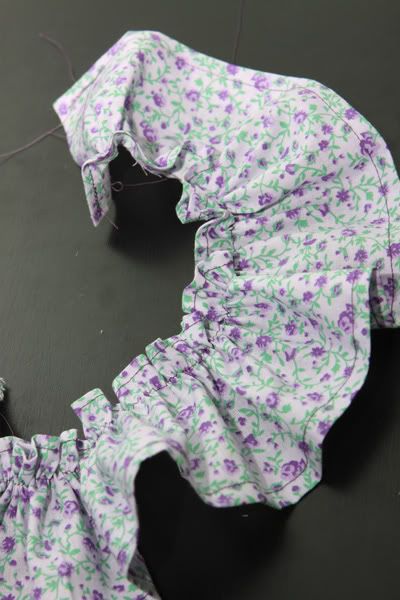
I came down about a half inch from the top finished seam, sewed a basting stitch and gathered the ruffle.I wanted a little ruffle top for the first layer.
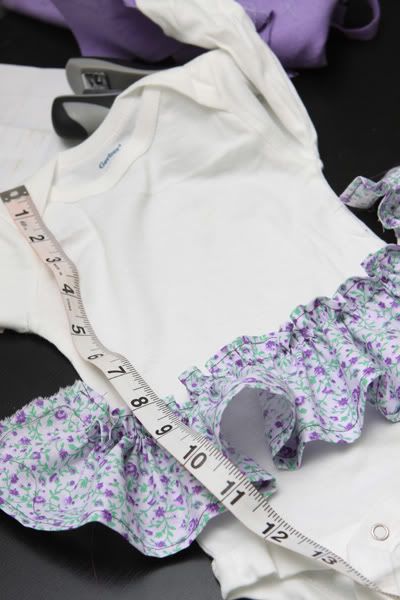
I then measured down where I wanted the first layer to be on the onesie.
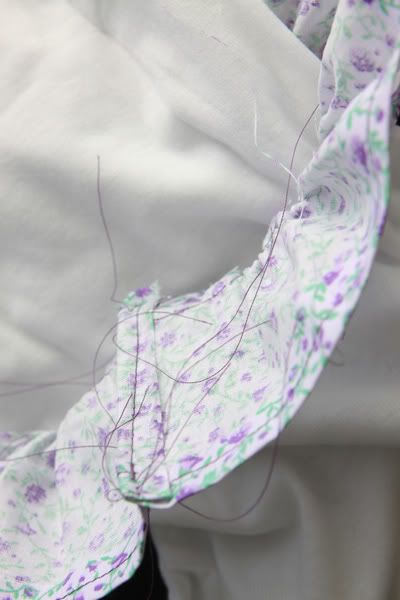
I started to pin, but realized I needed to seam the two ends together on the ruffle. So I slapped my forehead, unpinned, and then double folded and sewed the ends.
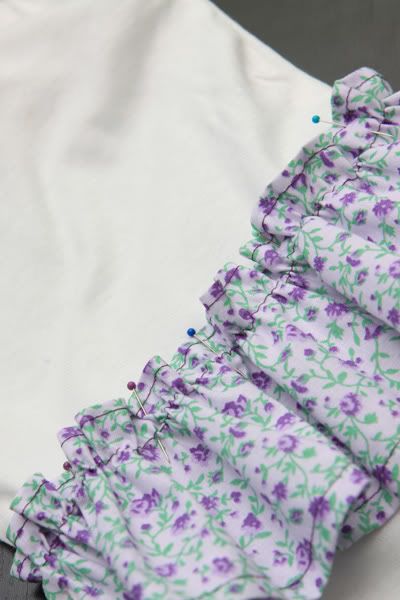
I matched the seam of the ruffle to the middle of the onesie back, but you can match it to the side seam of the ruffle to hide a little more. Pin the onesie down where you want it.
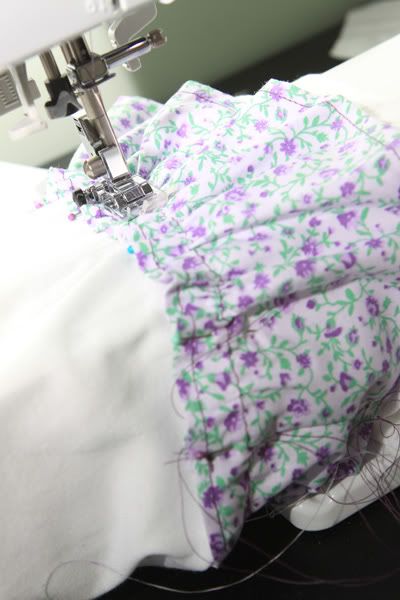
Sew over the basting stitch onto the onesie. Be careful not to sew the two sides of the onesie together, because it's really easy to do. Trust me. I won't put any un picking pictures to prove it.
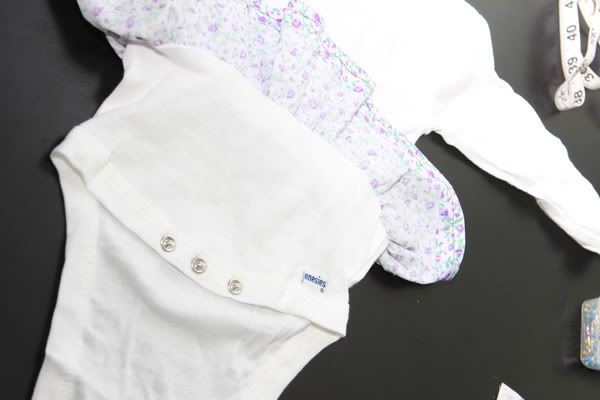
Push the layer up to have room to work with your next two layers. You can press it at this point, but given my good luck with hot metal objects, I'll just skip that part.
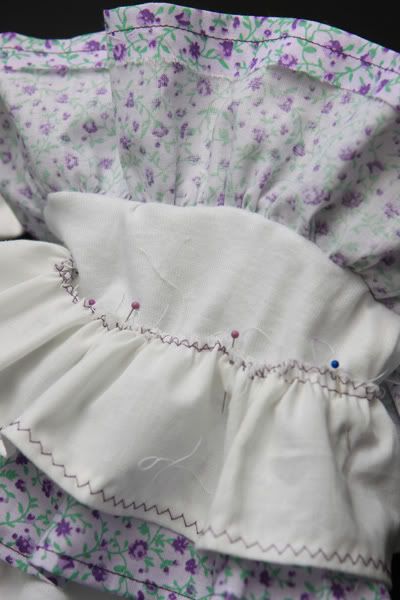
Place other layers where you want them, pin and then sew. The other two layers I finished the bottom seam, but zigzagged the top. The white layer I also used a zigzag stitch to give it a little more visual interest between the two purple layers.
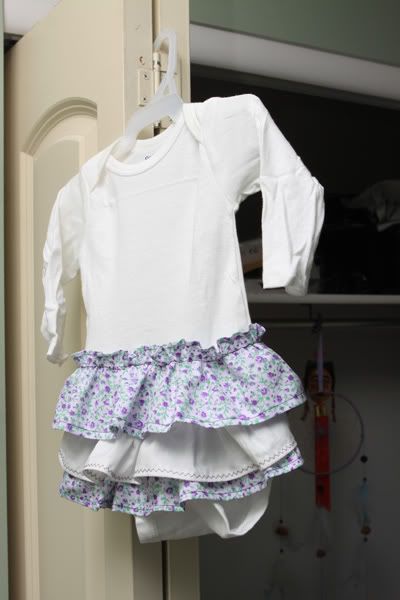
And here it is. We'll continue to embellish, because that's fun.
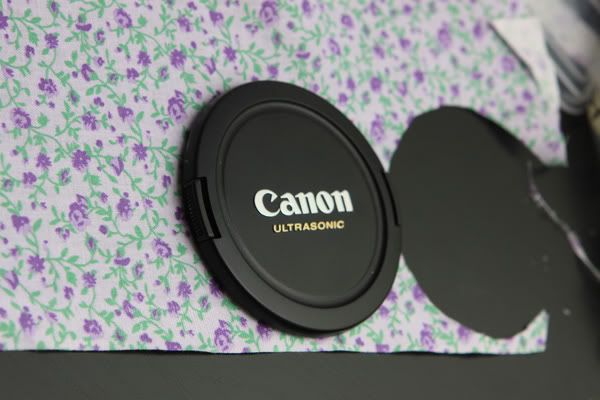
To make the flowers, use a circle shape. You can go as big or little as you want. Just know that once gathered in they aren't even half the size of their original shape. So if you want big flowers, use a big circle. Yes that is my camera lens cap. I am SUCH a multi tasker...
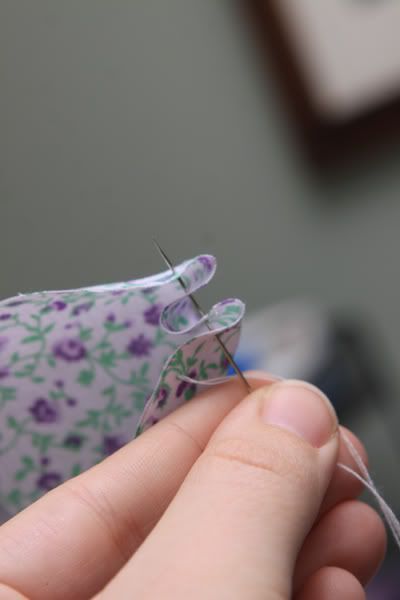
Hand thread a needle and starting with the inside of the circle out, do a loose gathering stitch.
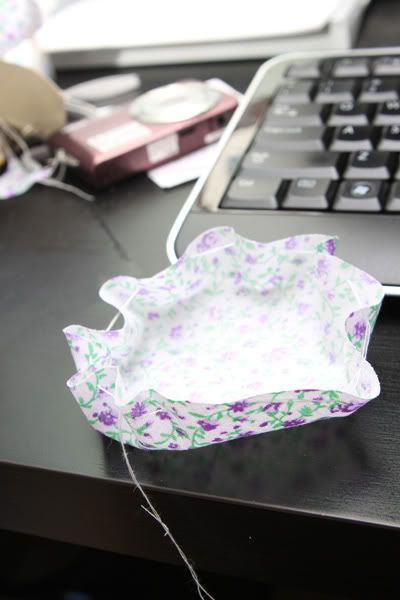
So if you pull it, it will become a bowl shape.
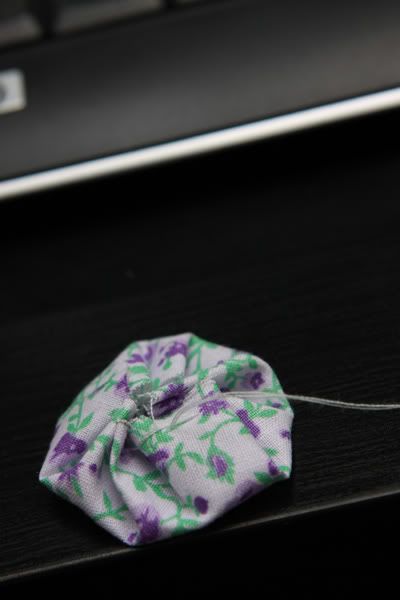
Pull to the middle, pressing down in the center till your flower begins to form. You can coax the sides to take shape as well by holding down while you pull.
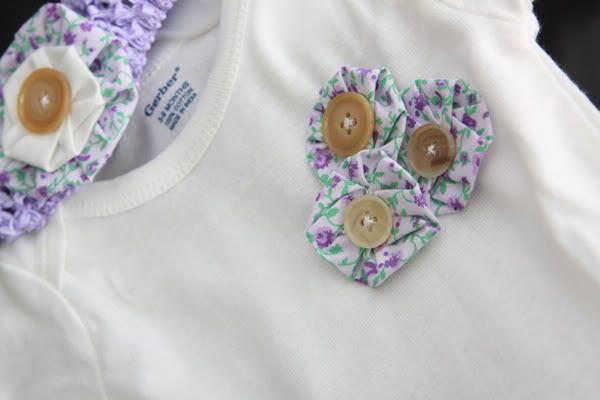
I made three of the same size for the onesie, and hand sewed them on, finishing with a fun button.
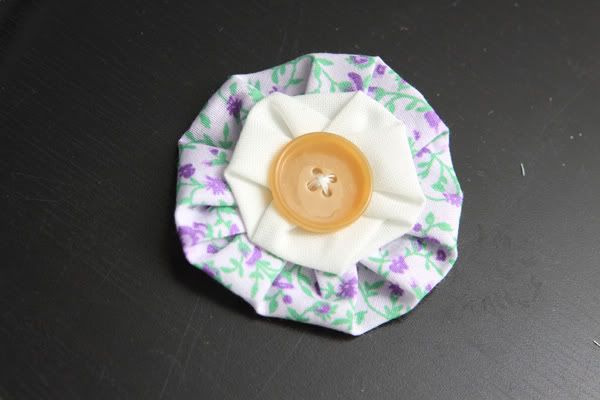
I also wanted to make a hair clip so I used a circle the size of a cd.I also cut a white circle from my lens cap. Follow the same steps, but just sew the two together with the button.
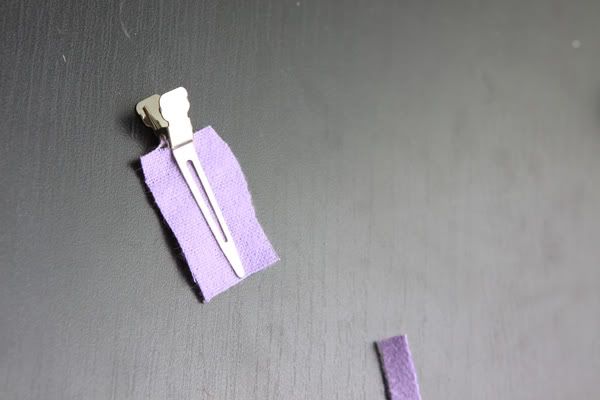
To attach the hair clip, I cut and then clipped a square of felt.
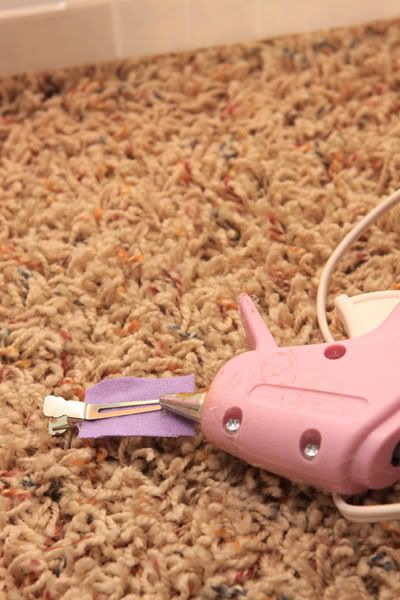
I then glued the whole side of the clip.
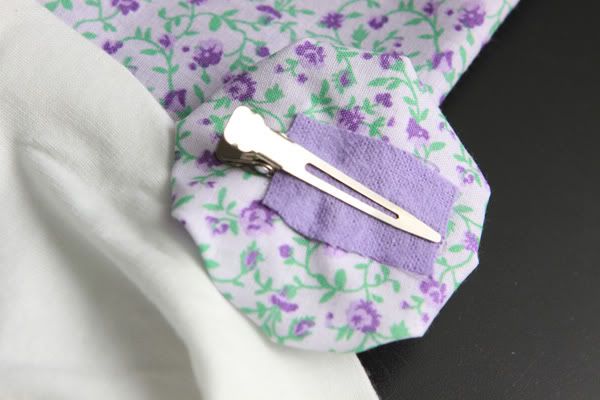
And placed it directly on the back of the flower.
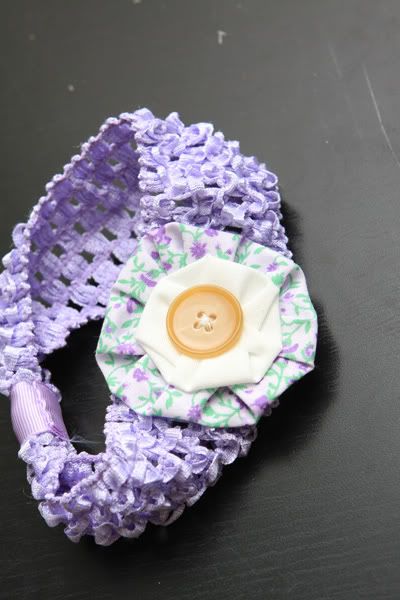
That way it can be a hair clip or detachable from a headband.
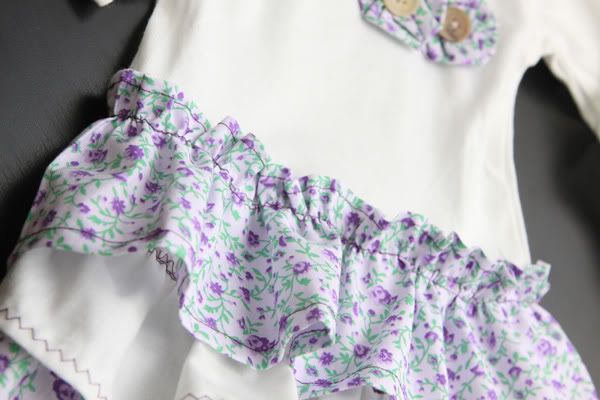

And you're done! I also made matching burp cloths for it like I did in this post. I gave it to a friend who is expecting next month, but don't you worry, I'm sure my closet will be lined with these for my own daughter. The best part? The onesie was about $1 out of the package, the material on clearance for $2 a yard, so the whole project only cost about two dollars since I had lots of fabric left over. Huzzah. What do you think? Something you can make? And would this not be so cute done in fall or christmas colors? That may be my next project... Happy Monday!






9 comments:
Love it!!! <3 I love purple on little girls.
Love it too, this I will try out sometime! :D
Aww, that is so, so cute! This caught my eye on Craft Gossip and I had to click over. I would love to link to this if you didn't mind.
Thanks so much Rachel! I would love that!
Adorable! Thank you so much for sharing.
This is so darling! Thanks for linking it up to my "Open House".
This is SO cute~ you are very creative! Hopped over from Monthly Open House Party...
Yea! I'm so glad I found your tutorial! I've been looking for cute onesie dresses, too, and they aren't as available as one would think! I'm new to sewing, but I'm going to give this a shot!
I featured your adorable tutorial on my blog! Take a look!:) http://whimsycoutureboutique.blogspot.com/2011/11/whimsy-finds-tutorial-to-make-ruffled.html
Post a Comment