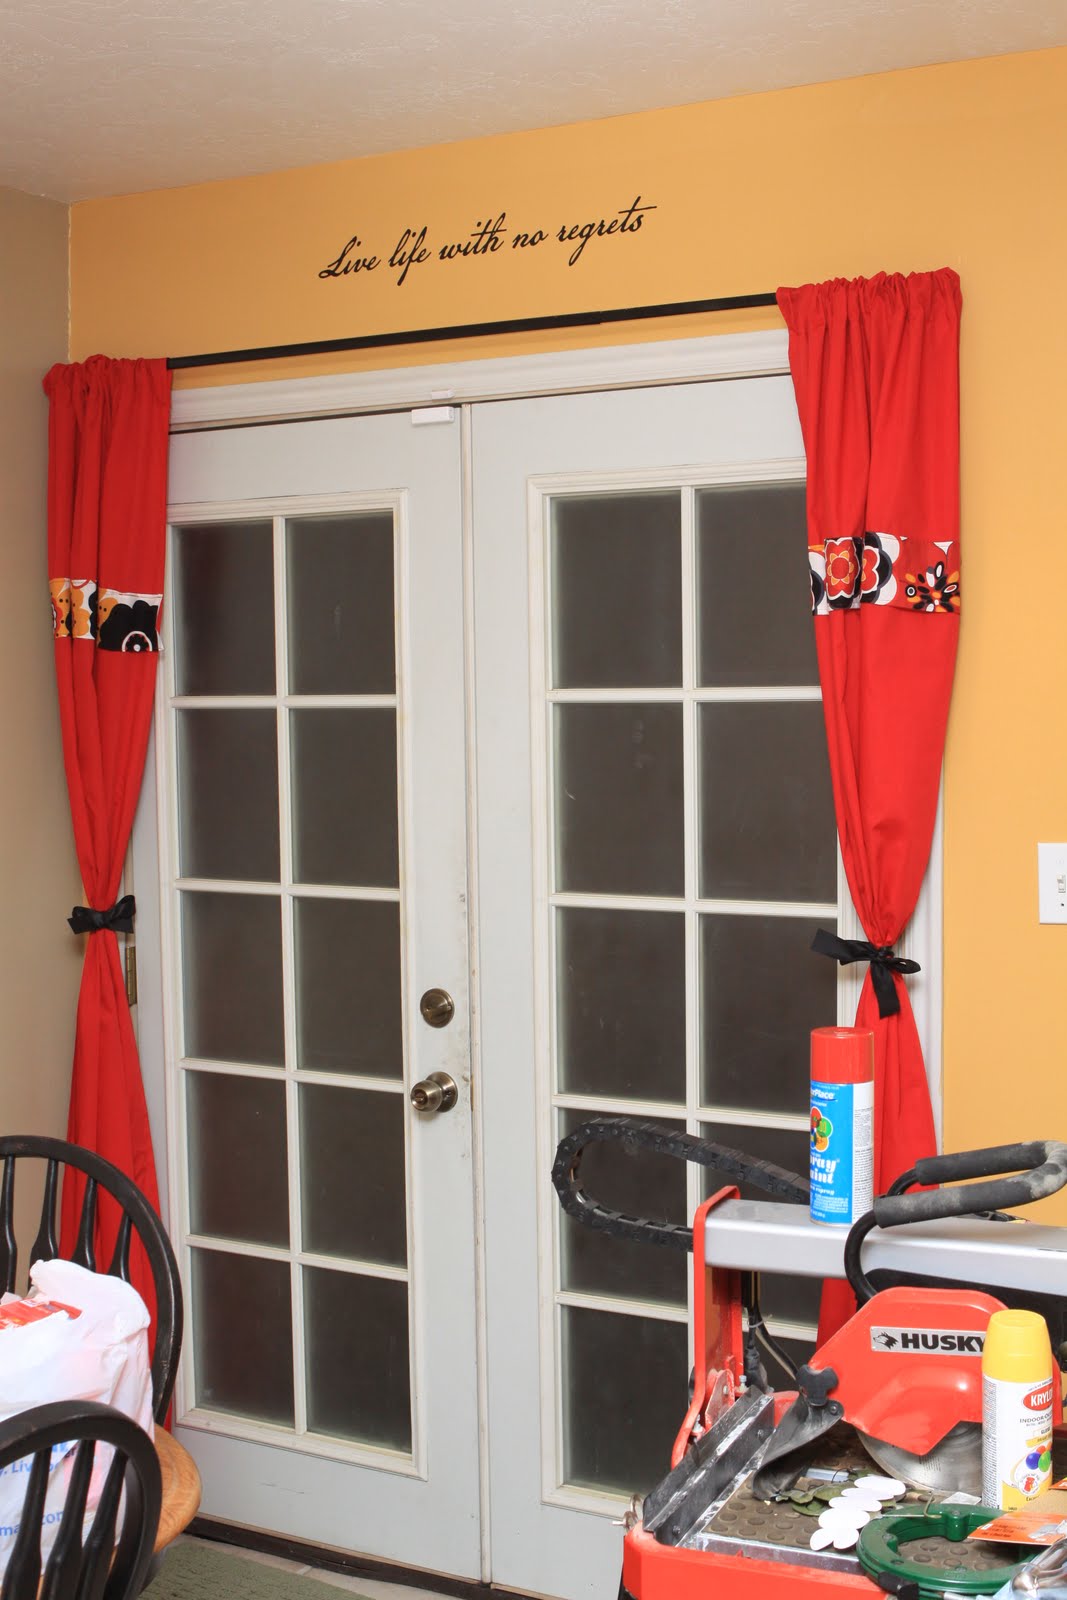


Remember this project? Well because I'm OCD I was a little concerned about the childishness in the office I decided to redo my redo. We repainted the kitchen, (pics later) and decided the old decor had to go, which was fine since I paid a whopping $5 for it. We also wanted the space to be a little more functional, and I had seen a lot of menu boards, message boards, photo boards and calender boards I had liked around. So I figured the best thing to do would be to combine all my favorite elements into one thing. Of course.
 This is my favorite things board! Spaces for notes, weekly menu, calender, and all the announcements/notes/pic I get sent!Also, in case you cared, the rosettes match this project.
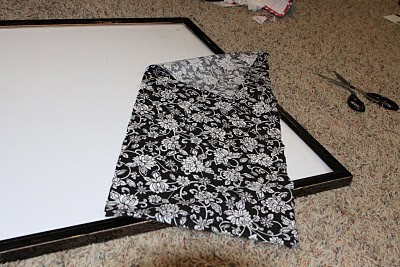 I started by spray painting the frame. I covered it in paper from my home printer, so needless to say there were gaps and the mist in the air got them. A little rubbing alcohol took the paint off so if it happens to you don't fret. Or you could actually take the time to tape and cover the board. If you're cool like that. I then distressed it a little. Finally I cut a piece of fabric I had on hand to the size I wanted on the board.
  I carefully glued the edges and pushed them into the frame, then the middle, then the final edge on the board.
 I trimmed it with grosgrain ribbon. After gluing it down I measured where I wanted everything else. My calender measure 17.5" by 14.5"- giving me 2.5" inches per square and a 2" space at the top.
 If you haven't seen rosettes made out of fabric, I'm not sure where you've been. It's ok, we still love you. Typically I hand stitch these if they go on fabric but because I'm
 lazy inventive I just hot glued them where the stitch would be. Then I put a button in the middle of each one and glued them to the corner.
 I couldn't find my ribbon so I just used yarn. It worked just fine, just crisscross where you want them to hold the pictures and glue each end under the frame trim or ribbon trim to hide it.
 This is my favorite things board! Spaces for notes, weekly menu, calender, and all the announcements/notes/pic I get sent!Also, in case you cared, the rosettes match this project.
  I started by spray painting the frame. I covered it in paper from my home printer, so needless to say there were gaps and the mist in the air got them. A little rubbing alcohol took the paint off so if it happens to you don't fret. Or you could actually take the time to tape and cover the board. If you're cool like that. I then distressed it a little. Finally I cut a piece of fabric I had on hand to the size I wanted on the board.
  I carefully glued the edges and pushed them into the frame, then the middle, then the final edge on the board.
 I trimmed it with grosgrain ribbon. After gluing it down I measured where I wanted everything else. My calender measure 17.5" by 14.5"- giving me 2.5" inches per square and a 2" space at the top.
 If you haven't seen rosettes made out of fabric, I'm not sure where you've been. It's ok, we still love you. Typically I hand stitch these if they go on fabric but because I'm
  I couldn't find my ribbon so I just used yarn. It worked just fine, just crisscross where you want them to hold the pictures and glue each end under the frame trim or ribbon trim to hide it.
 If you have a cricut, I'm sure you'd make this all cute with vinyl. I don't, so I didn't. Handwritten looks ok too. :)
 These bad boys are the bomb. Use permanent markers for anything you don't want to wipe off easily. They do come off with rubbing alcohol, so don't fret.
 I marked out where I wanted my calender to be and then traced the level. Don't tell my husband I got black permanent marker all on the side of his level.
 And since we all LOVE trying to find markers, I decided to just attach it to the darn thing. Use some glue.
 Then use some more. Voila.
 I pretty much love it. Happy Wednesday!